This is my class project in Biology- A Human Heart Model made out of Modeling Clay.
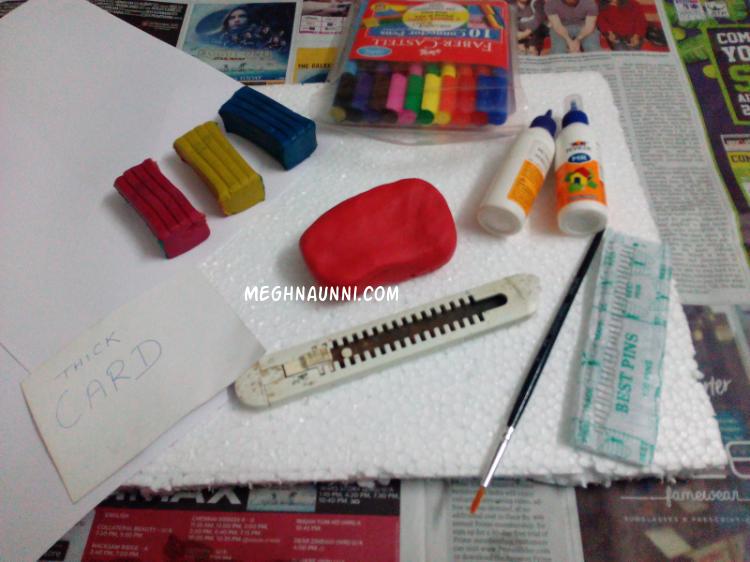
You will need:
- Red Clay
- Blue Clay
- Thermocol Sheet
- Bell Pins
- Glue
- A small paintbrush
- A knife or a cutter
- A thick card
Method:
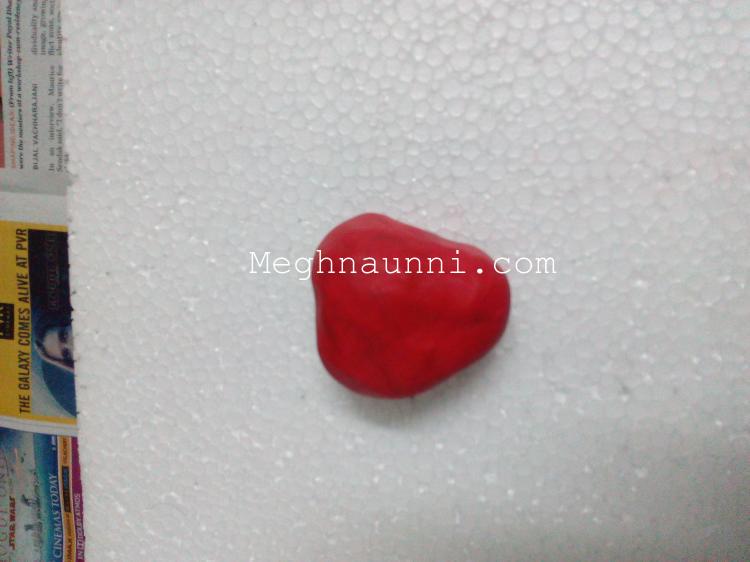
Step 1:
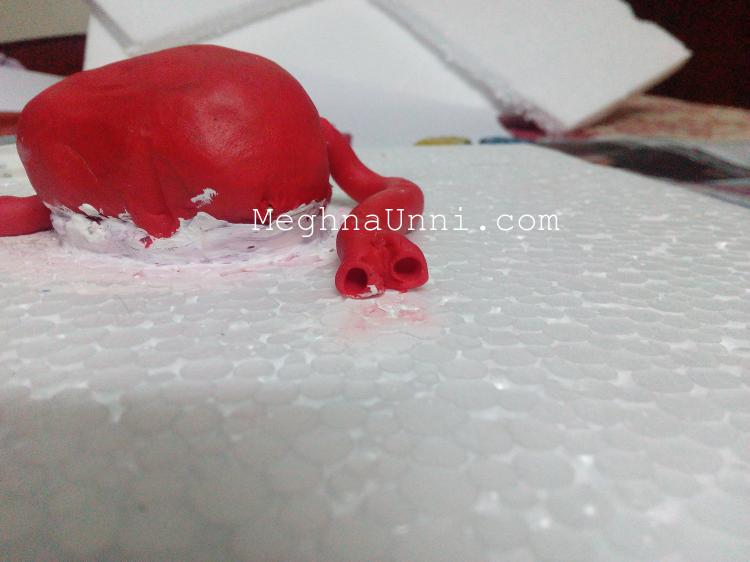
Take the red clay and roll it into a ball.Carve it into a small heart-like shape as shown in the picture.
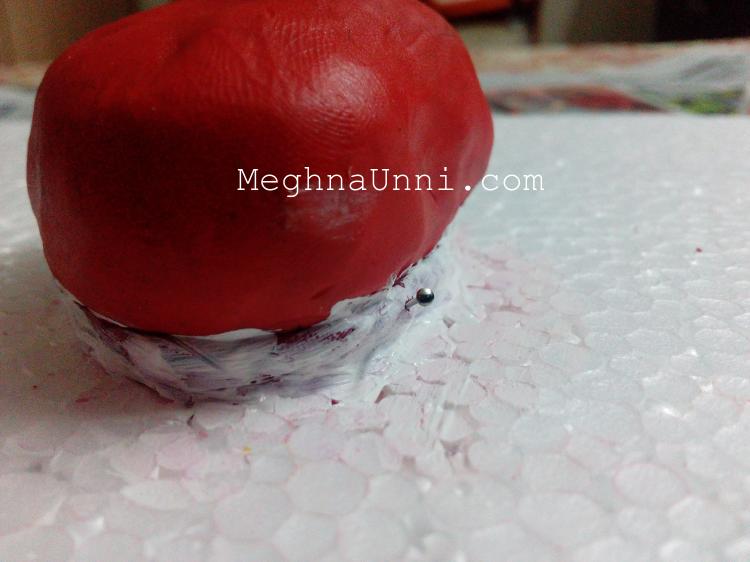
Step 2:
Apply glue on the backside of the heart and stick it on the thermocol.
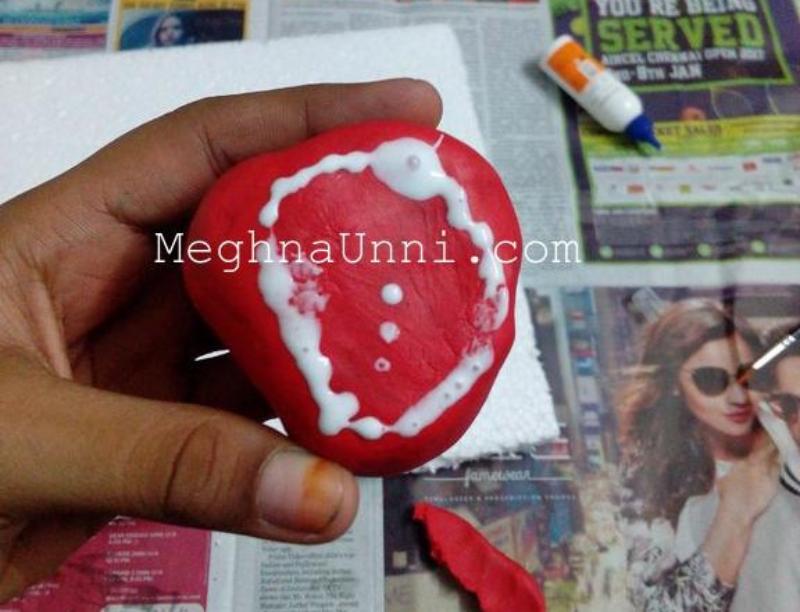
To make it more firm on the thermocol, I have stuck a small piece of clay around the bottom part of the clay and painted it white to match the thermocol. I have also attached few bell pins to hold the heart and thermocol together.
Step 3:
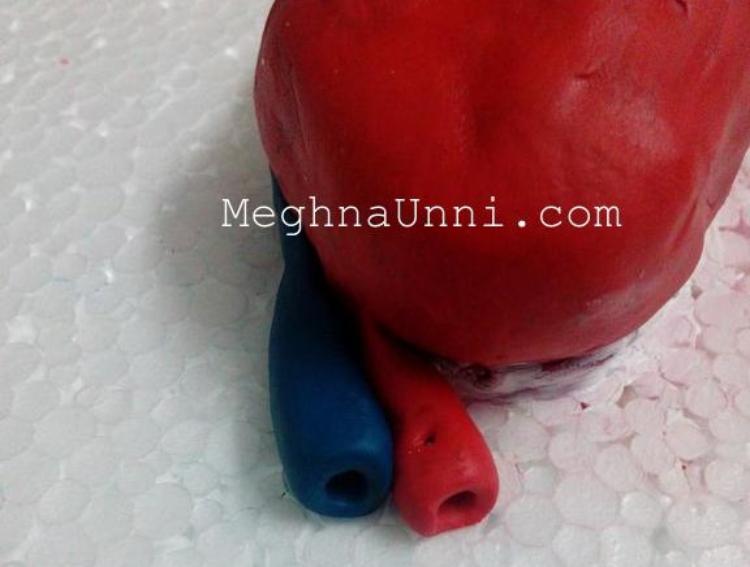
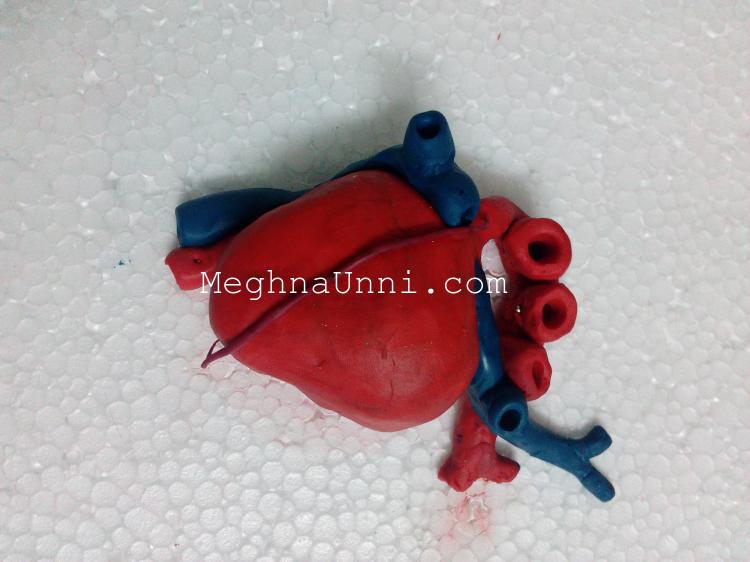
Roll out a long piece of red clay using the thick card as shown.
Attach it to the left side of the heart. This is the Aorta.

Split the end of the Aorta into two using a cutter and shape the end into a hollow tube.Let this end be the Pulmonary Vein.
Step 4:
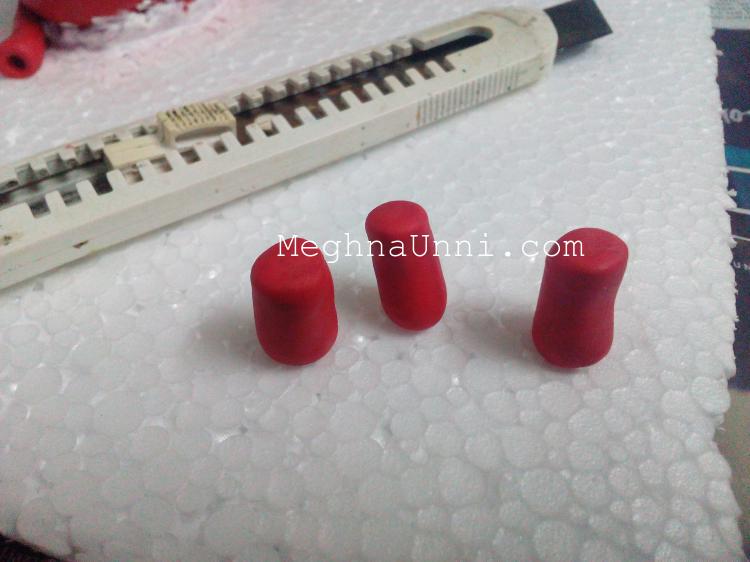
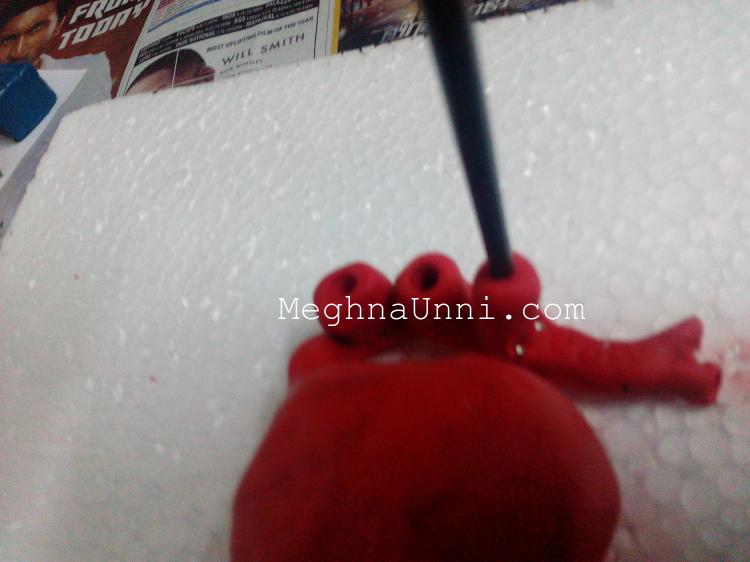
Take three small pieces of red clay and shape it into a cylindrical shape.
Attach all the three pieces of clay onto the Aorta and make it hollow tubes by using the end of the paintbrush.
Step 5:
Take two small pieces of red and blue clay and shape it into small cylinders. Attach it to the bottom of the heart on the left side.
Step 6:
Take a long piece of blue clay and split its end into two and make it into hollow tubes.
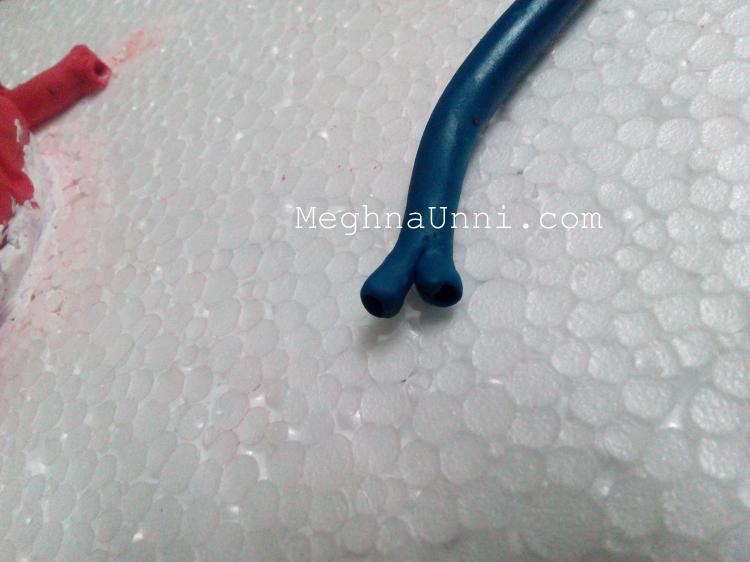
Attach it next to the starting of the Aorta.

Attach pins so that it stays firm. This the Pulmonary Artery.
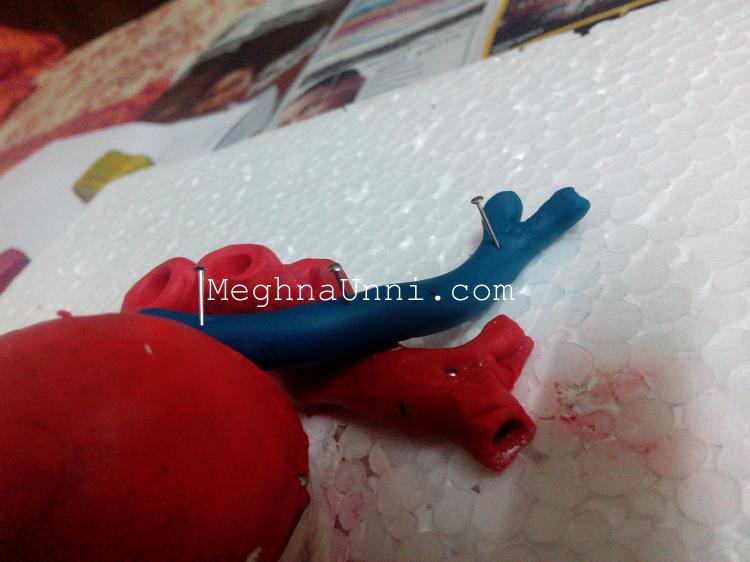
Step 7:
Take a small piece of blue clay and add a small artery on the left side of the heart. I also added a small opening of the Pulmonary Artery.
Step 8:
Now take a darker shade of red clay. You can even take the same red clay and mix a small piece of blue clay into it to make it darker. Take the clay and roll it into very small and thin pieces in order to show small veins.
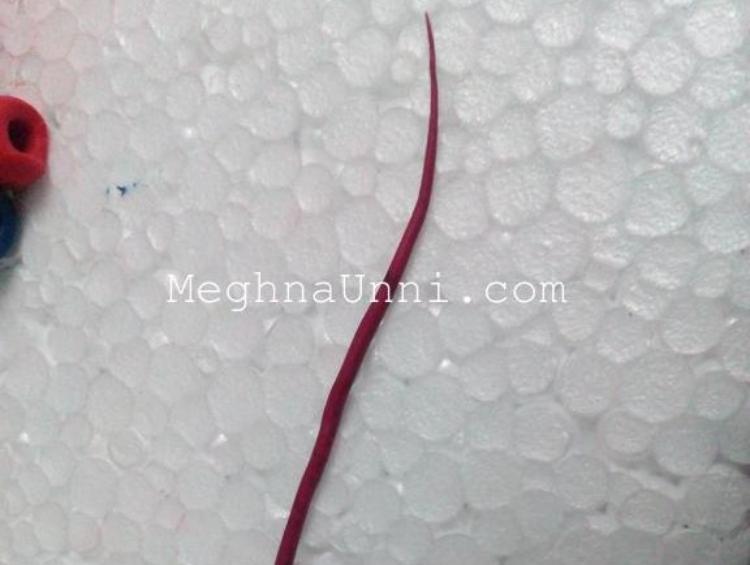
Attach these small veins onto the heart like a small network of veins.
Step 9:
Now apply glue all over the heart. It should be covered fully in a layer of glue.
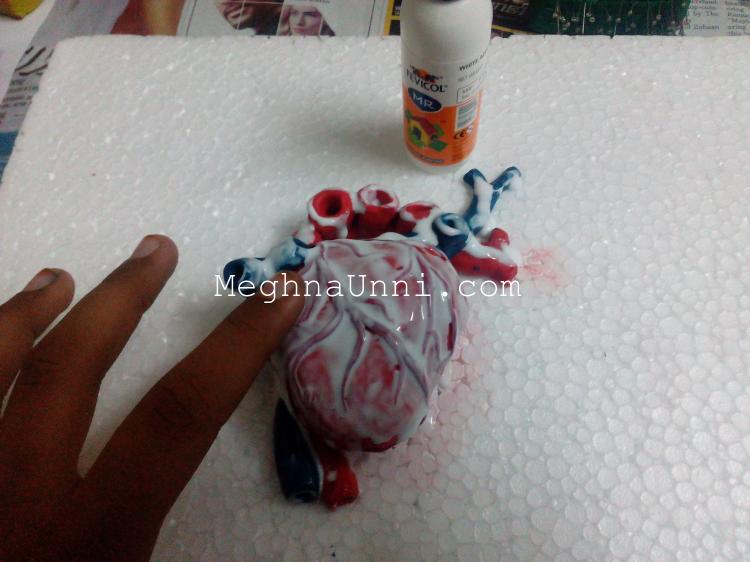
It might take a whole night to dry up but it will look shiny and neat. The advantage of doing this is that it will not be damaged easily.
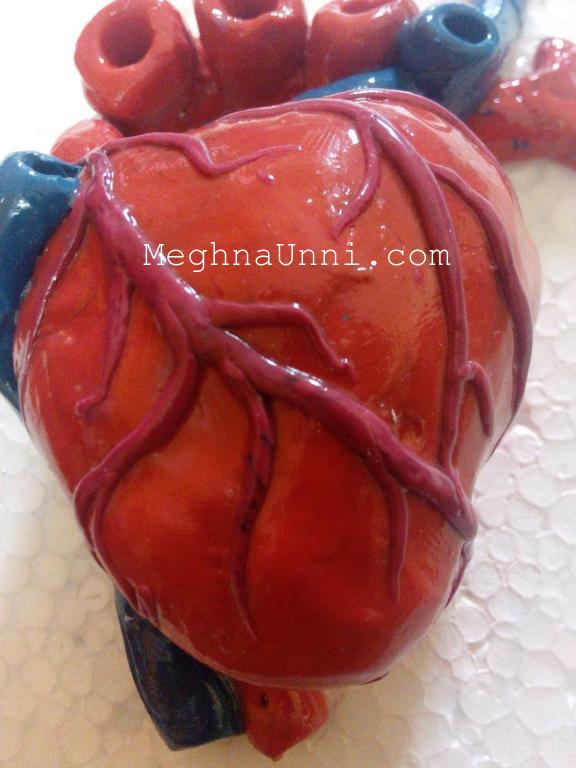
It will look like this after drying.
Step 10:
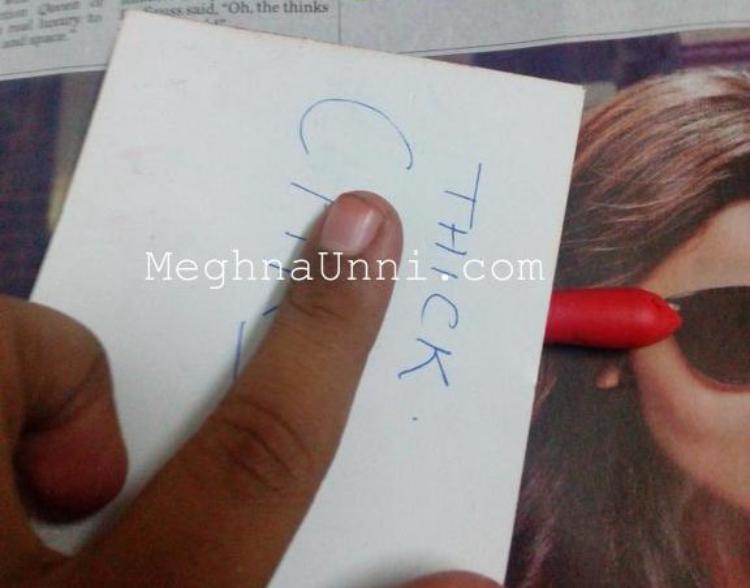
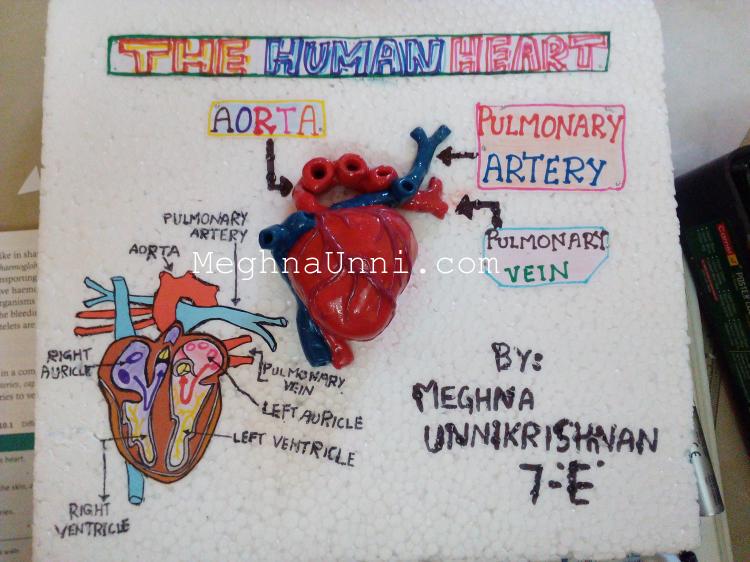
I also drew and stuck a picture of the inside of the heart beside the 3D Heart.
The final heart model :
Video : https://youtu.be/4JVub0jngc8
wow….
great job …..
Thank You 🙂
Beautiful concept.
Thank you
it is awesome
Thank You
thank you, you helped me a lot!